The title of this blog post is somewhat misleading because it presupposes that I know what I am talking about when it comes to patina which is not true. I am however beginning to manage the patina process and not by chance I met my first guinea pig on StyleForum who was willing to hand over his pair of Cheaney shoes in tan in order to see if I could 'Berlutize' them.
We met for coffee and this particular gentleman was very well dressed and very well versed in shoes. He even knew the particular differences in lasts offered by John Lobb and Edward Green which is to say, you would first need to care about mens shoes to know those two names, then you would need to have read a lot on each company to know the subtle differences between their lasts.
I offered up an invitation to any person on StyleForum located in Sydney to a free patina service on the basis that they were willing to give up their shoes and accept whatever came of them at the end. My guinea pig, Nabil, made only the slight suggestion that he would prefer browns over reds and already the patina artist became a little hot under the collar....
I went to work on the shoes chasing as inspiration the pair of Berluti's below that I found on Ebay. I was hoping to get an 'old wood' feel to the shoe or perhaps what Corthay calls 'vieux bois' - which as I said earlier, sounds so much better in French!
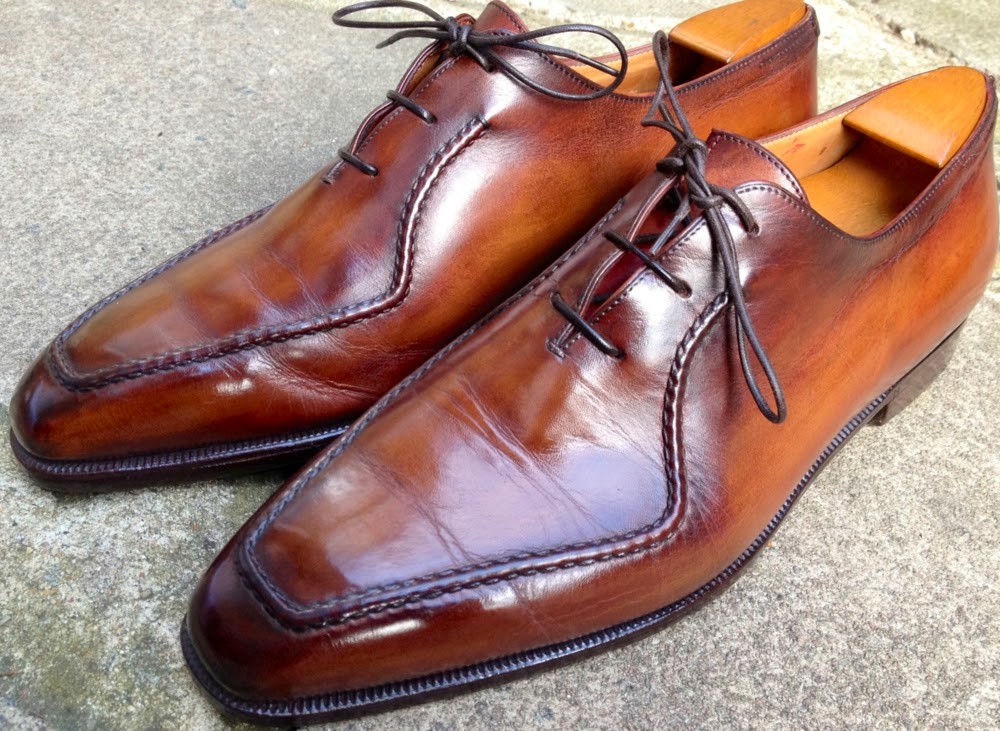 |
| Berluti, the bench mark worth chasing after, the elusive Old Wood burnishing treatment of a patina |
Before I proceed I will tell you the steps I undertook in order to achieve the result (of which you may judge of it as you please, I make no representations).
1. Strip the shoes
This involves using thinners to remove whatever is existing on the leather. For these shoes I chose to use cotton wool balls to begin the process of stripping. Once the cotton ball was laden with brown I threw it away and grabbed a new one.
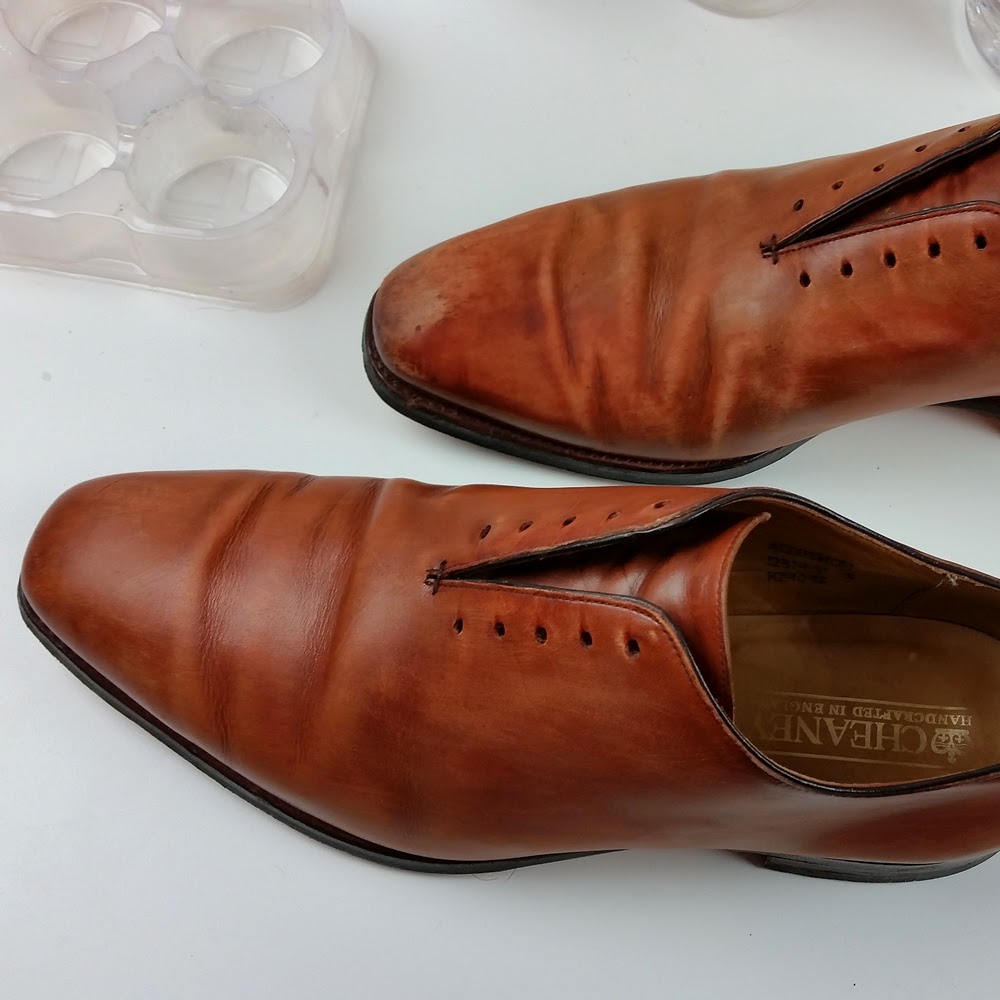 |
| Cheaney 'guinea pigs' for a patina |
2. Dry the shoes
I then applied some pure alcohol to the shoes and then let them dry. Someone might tell me this is no good but I wanted something to continue to distress the leather before drying and re-nourishing the leather.
3. Sand The Shoes
After the shoes were dry I very lightly sanded the shoes with a very fine sand paper.
4. Paint to the toe box
I painted the toe box by hand and using masking tape to define the area so that whatever we graduated to was at the end quite dark. I used a small brush for this work and also cotton balls.
5. Create a tray of dyes and mix with alcohol to dilute to taste.
Mixing the dye with alcohol can dilute the dye further so that you can apply layer after layer to achieve what in patina is known as 'depthing' whereby you start to see a 3rd dimension to the glaze. This is no different to how artists use paints layer after layer to create depth on a canvas. For this stage I used paint brushes, sponges, cotton balls and cotton pads. Once finished allow the shoes to try.
6. Re-nourish the shoes with a dubin
In this stage I used a Saphir high gloss dubin and worked into the shoe this very fine dubin using a cotton shirting rag which was quite fine. You need a lot of elbow grease to get the shoes to soak up the dubin but to also burnish the dubin into the shoe so that there is no residue dubin on the surface. For this I chose to use small circles with the shirting cloth wrapped around my index and middle finger. Once finished allow the shoes to dry for about half an hour.
7. Brush the shoes
Once the shoes were finished I used a brush and vigorously set about brushing the shoes until I was sweating like I was playing basketball. Back and forth until your arm almost comes off and then keep going.
8. Shine The Shoes
I finished the shoes with a high gloss cream. I did not have Saphir so I used Collonil "Super Creme De Luxe". Once the cream was well rubbed into the shoes using a shirting cloth I then used a 12 denier stocking to buff the shoes to high shine although I fell well short of my Berluti mirror reference.
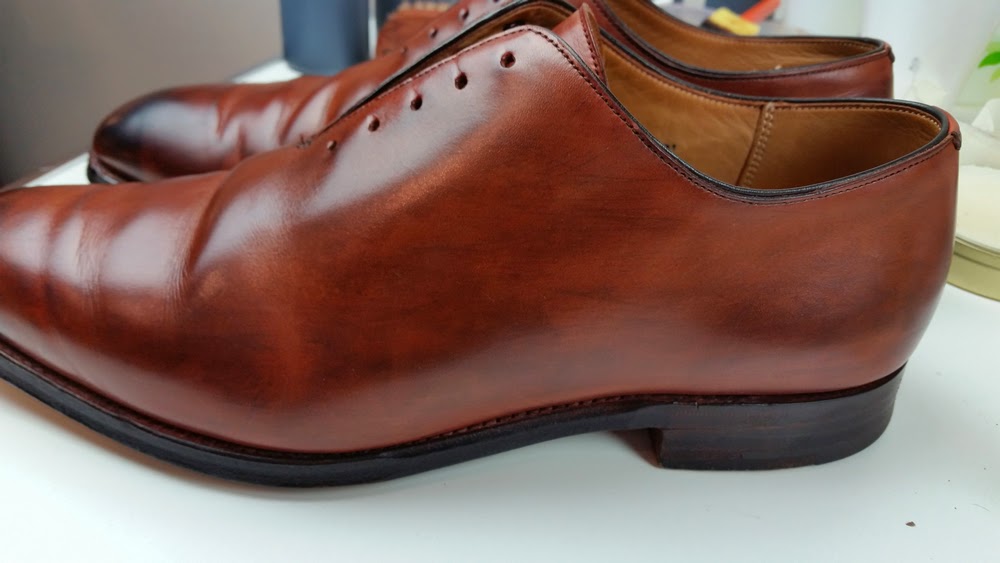 |
| You can start to see the Old Wood finish in these shoes |
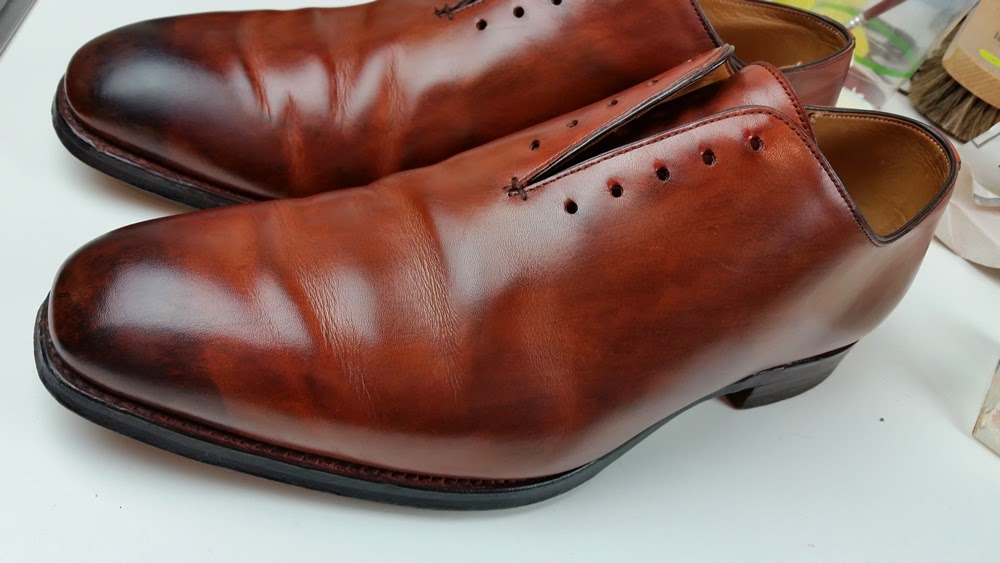 |
| Graduating the patina to the toe cap is something very cool but it can require additional work to set up |
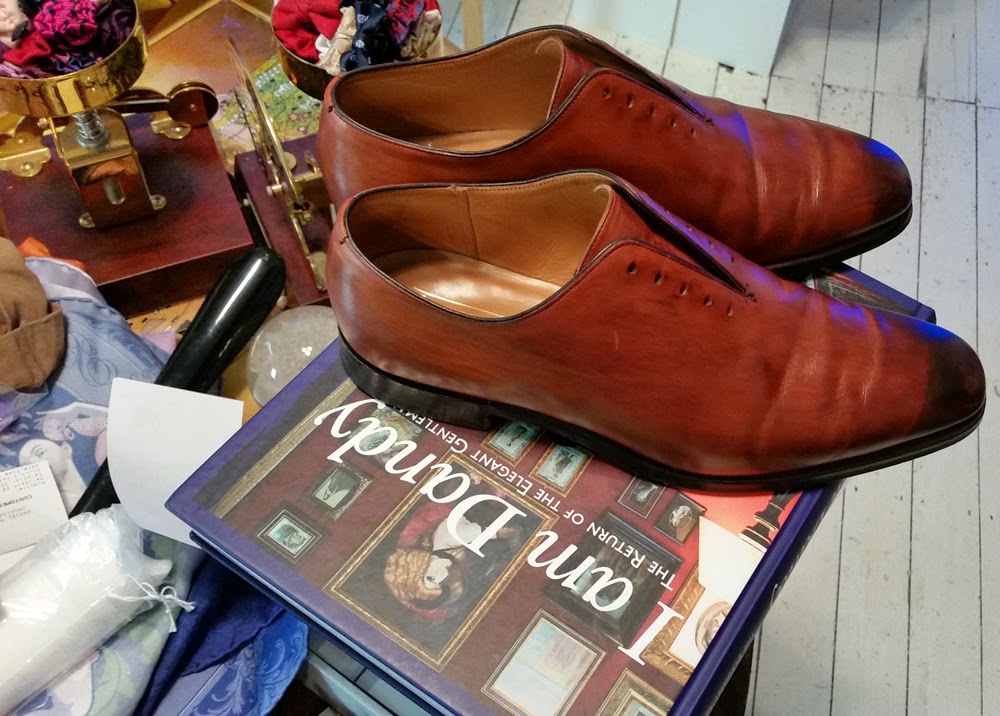 |
| Ready for pick up |
No comments:
Post a Comment